How to create a custom role
Custom roles let you define exactly what a member of your station can and can't do, going beyond the five built-in roles (Owner, Station manager, Program manager, Content manager and DJ).
Use them when none of the built-in roles quite fit. For example, a DJ who can delete their own tracks from the media library, a DJ who can also see the analytics page to check their listener numbers mid-show, a chat moderator, or an assistant who can edit the schedule but can't touch your settings. You build a role once, then assign it to members just like a built-in role.
Good to know
- Custom roles are only available on the Premium (3 custom roles) and Business (50 custom roles) plans. You can upgrade your subscription here.
- You need permission to create roles. The Owner and any Station manager can do this by default.
- Billing access can never be granted to a custom role. Only the Owner can access your station's billing.
- If you've already used all the custom roles in your plan, you'll be prompted to upgrade when you try to create another.
- Updates to a role apply to everyone assigned to it within a few minutes.
Creating a custom role
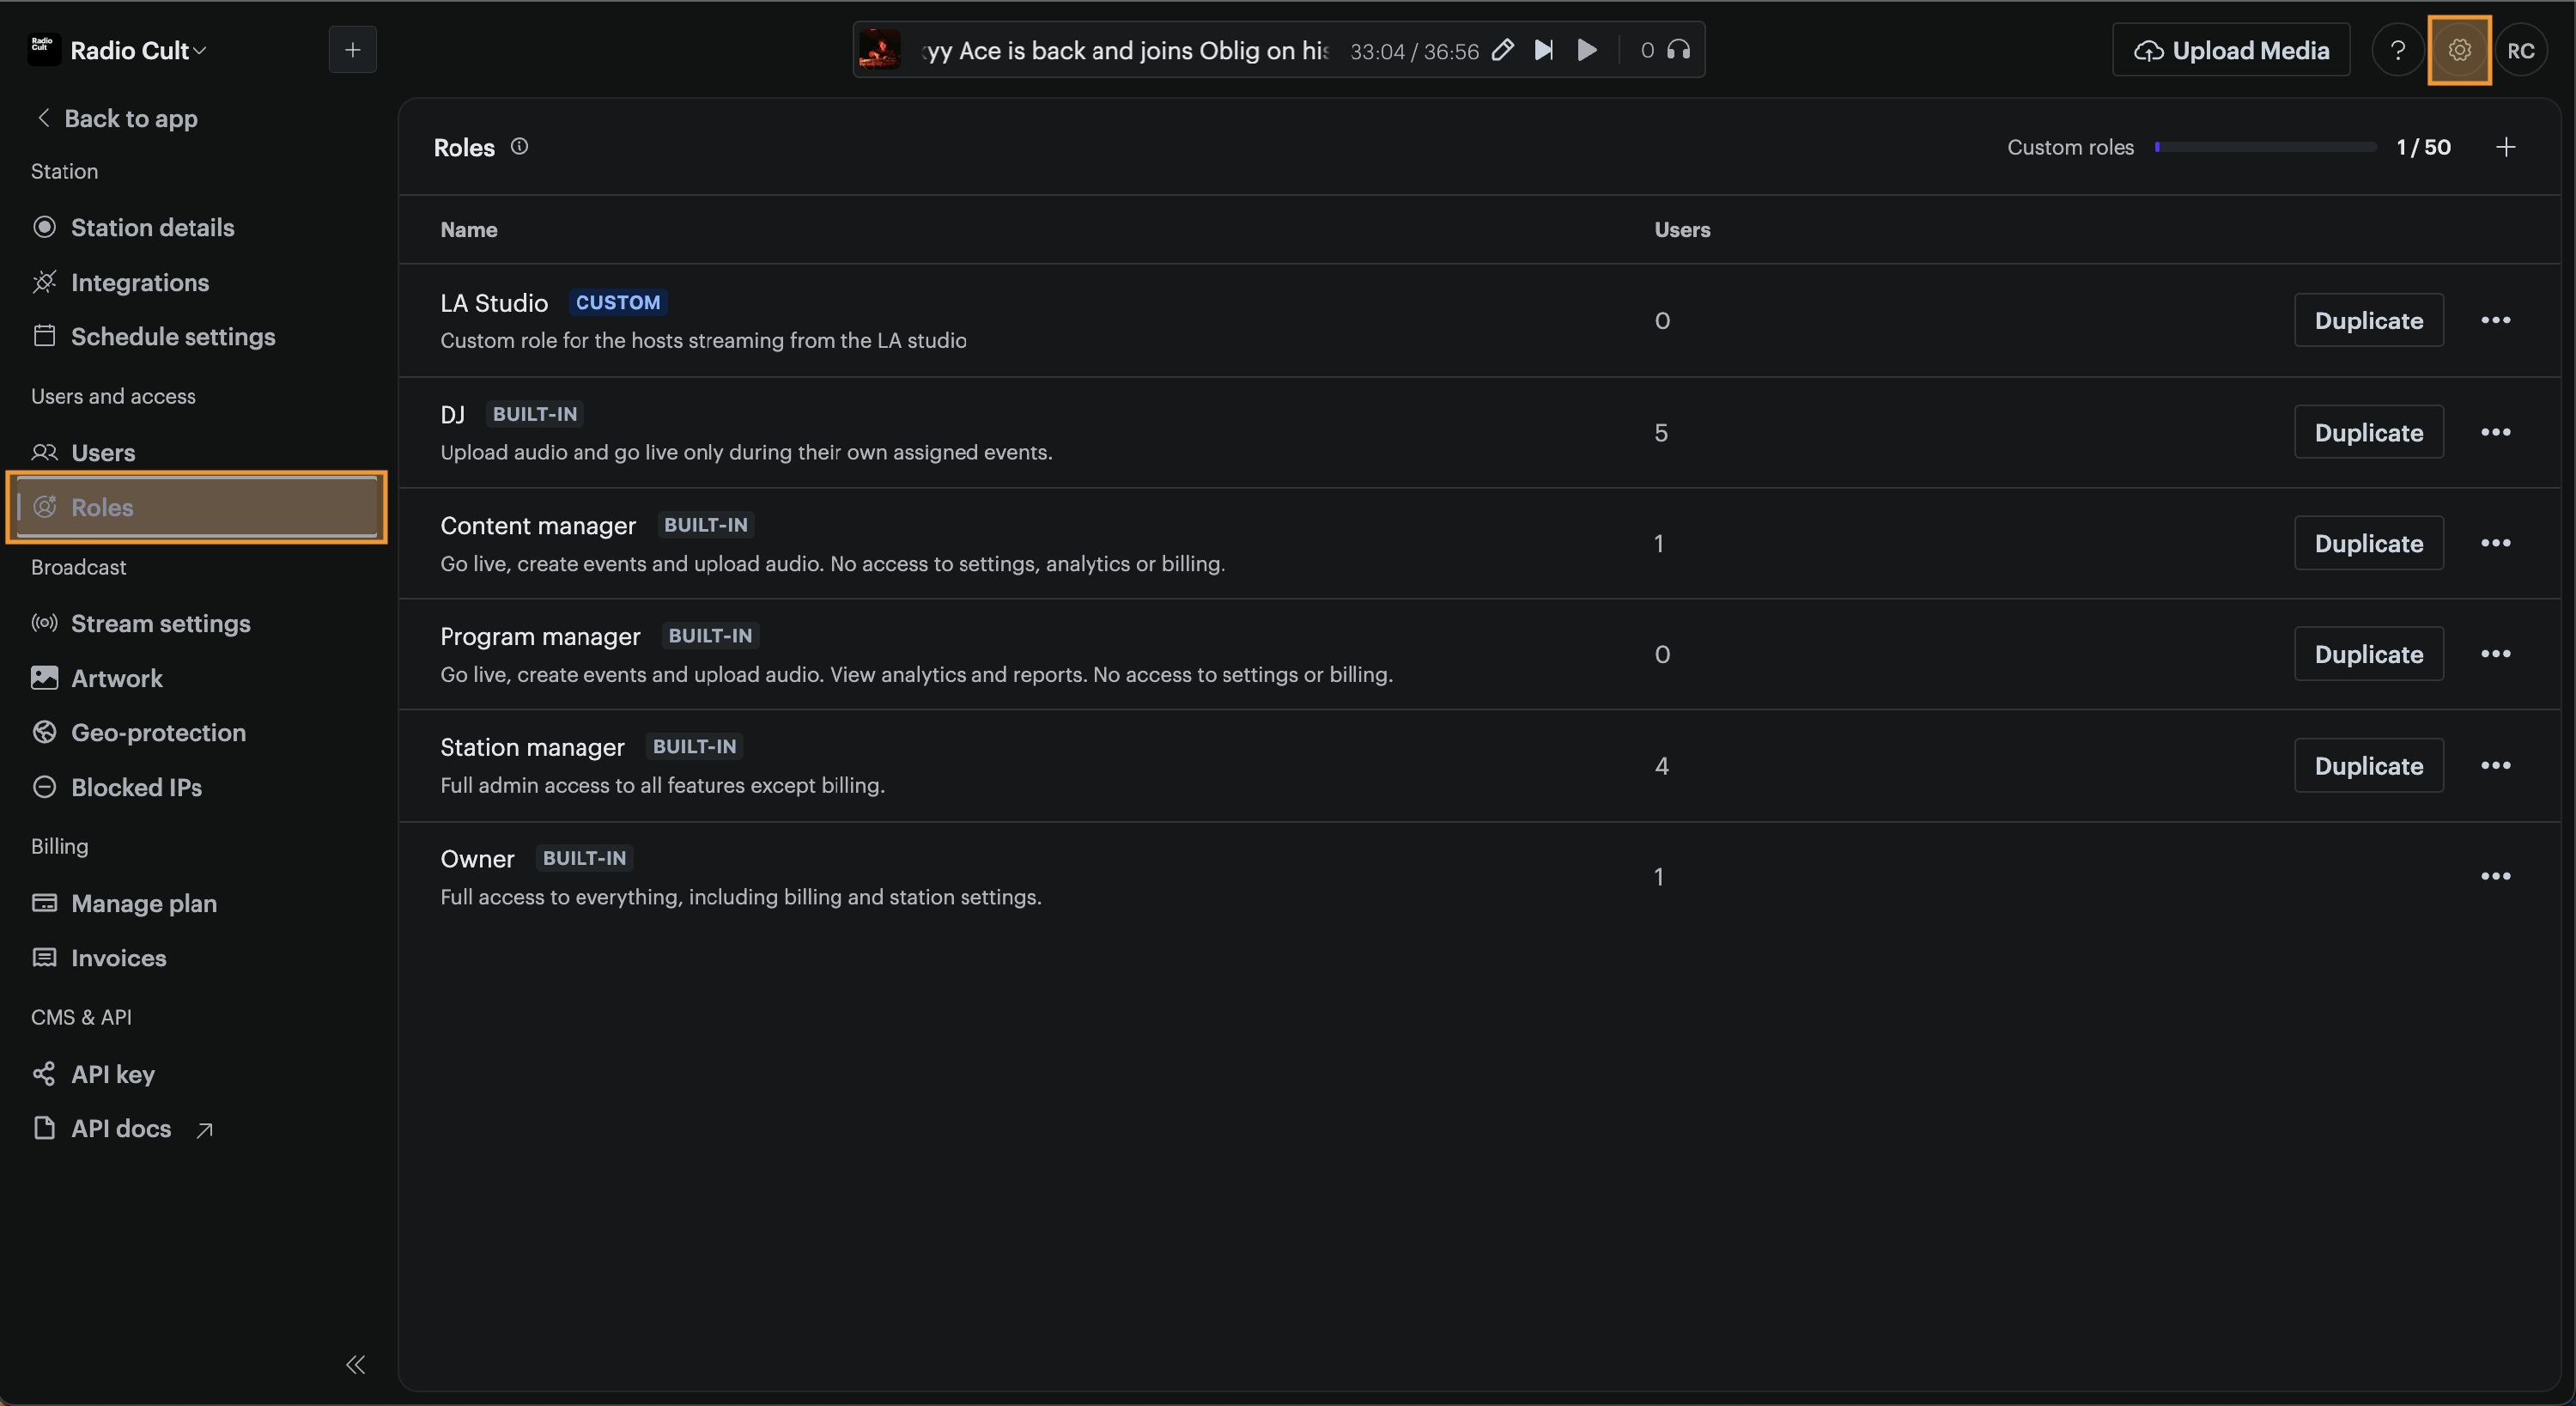
- Click the Settings (cog) icon in the top right hand corner of the navigation bar, then click Roles under the Users and access menu.
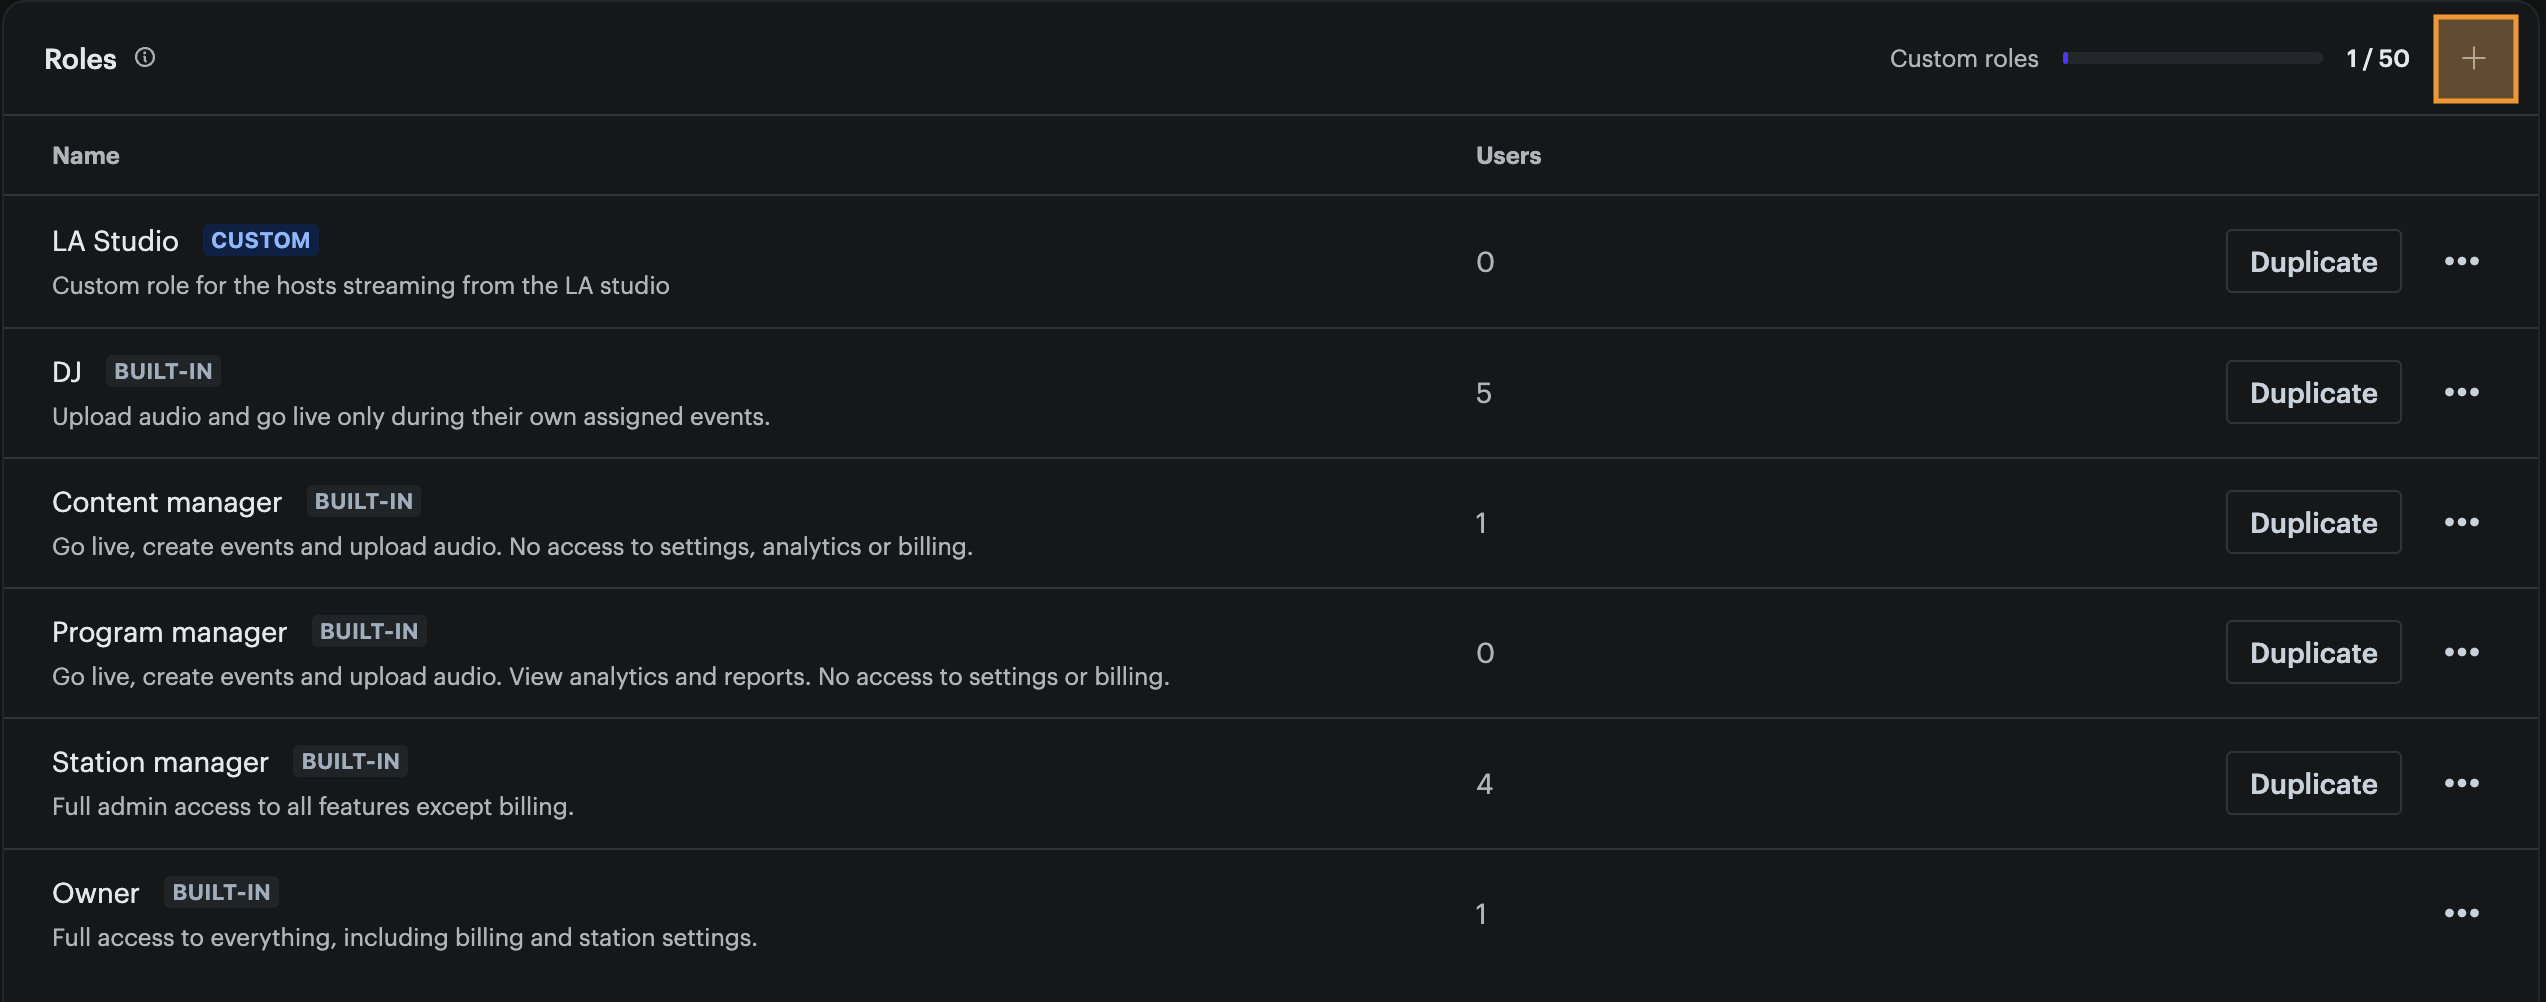
- Click the Create custom role button (the + icon) in the top right of the page. The role panel will open on the right hand side of your screen.
- Enter a Name for your role, for example "Content Editor".
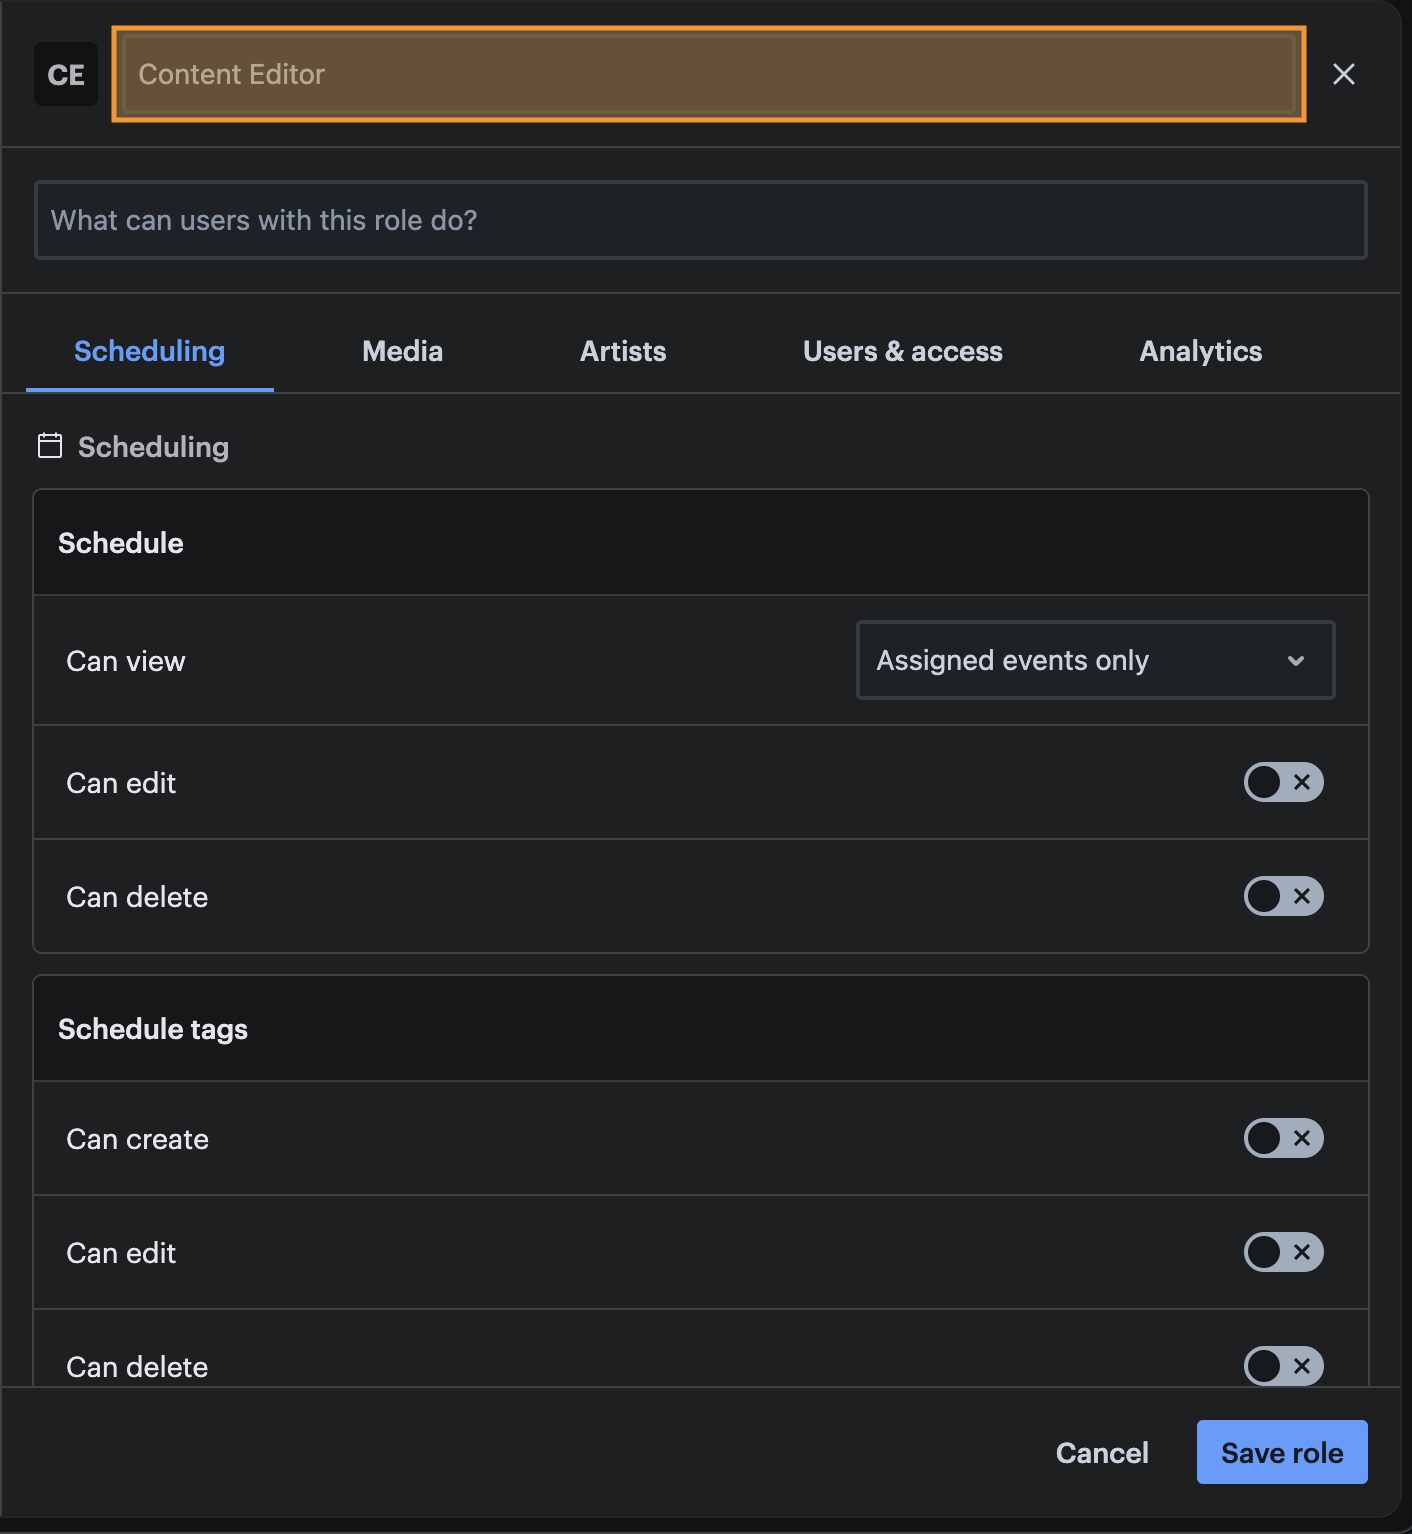
- Optional: Add a Description so your team knows what the role is for.
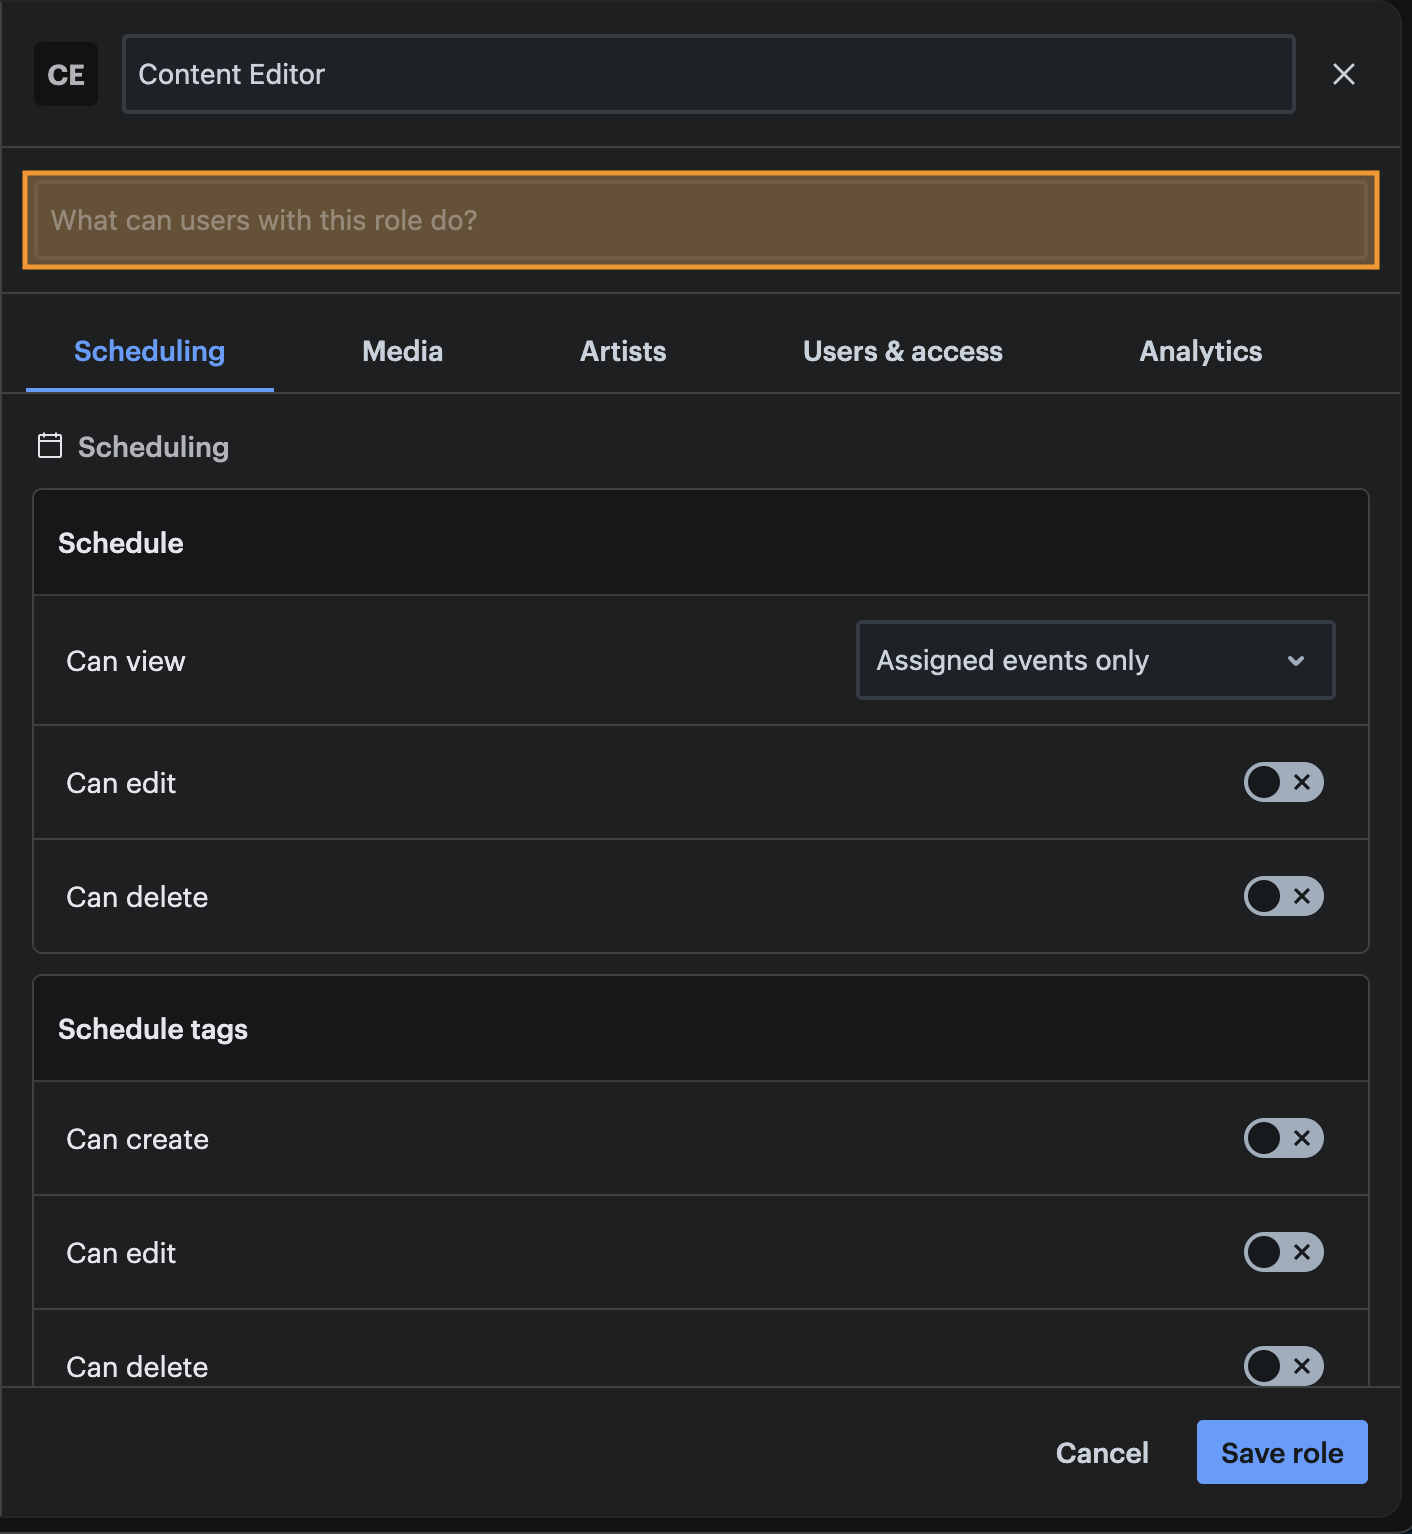
- Move through the permission sections using the tabs (Scheduling, Media, Artists, Users and access, Analytics, Reports, Embeds, Usage, Chat, Settings and Stream), switching on each capability you want the role to have.
- Most permissions are a simple on/off toggle, such as Can send messages.
- Some let you choose how much access to grant from a dropdown. For example, Can view tracks can be set to No tracks, Own tracks only or All tracks, and Live stream access can be set to Never, During their assigned event or Anytime.
- Click the Save role button.
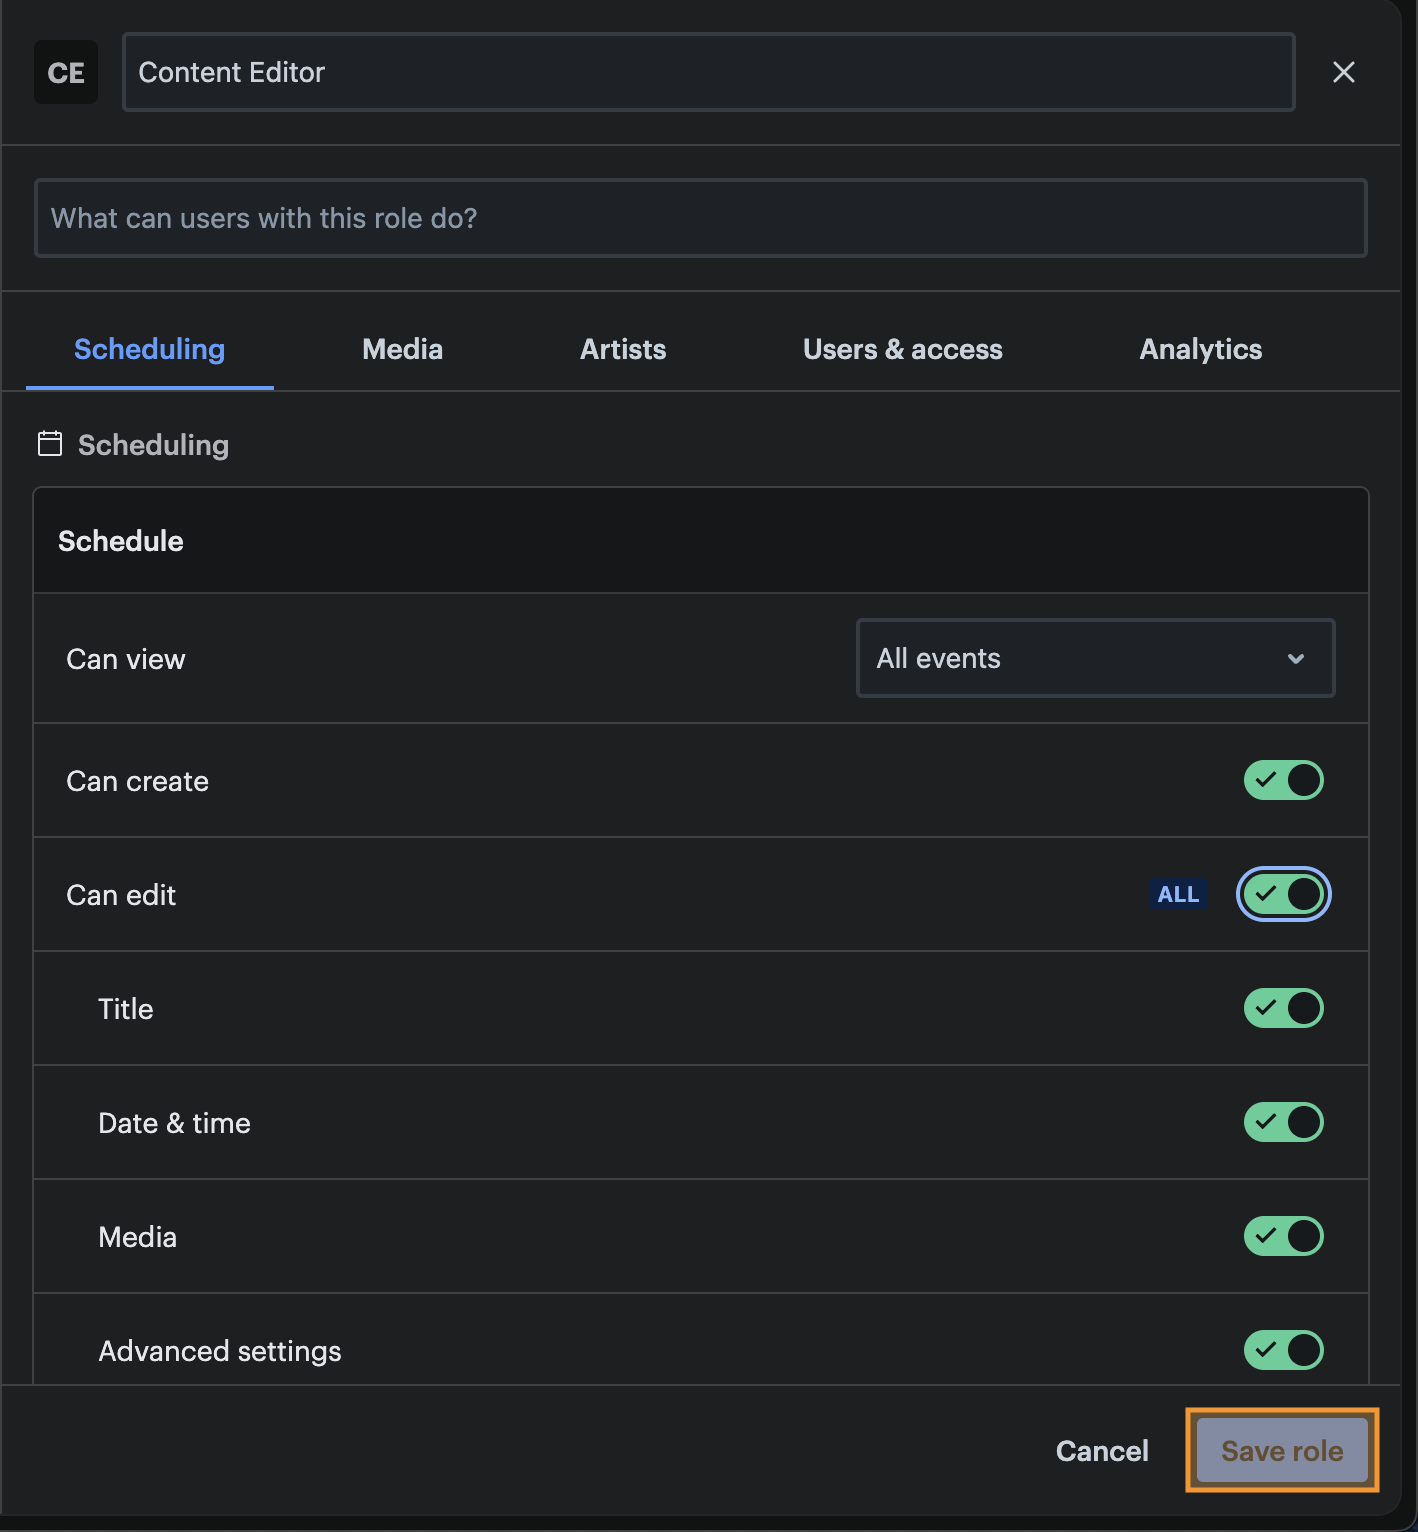
Your new role will now appear in your Roles table. You can assign it to users from the Users page, exactly like one of the built-in roles (refer to the How to assign a custom role to a user help article).
Tip:
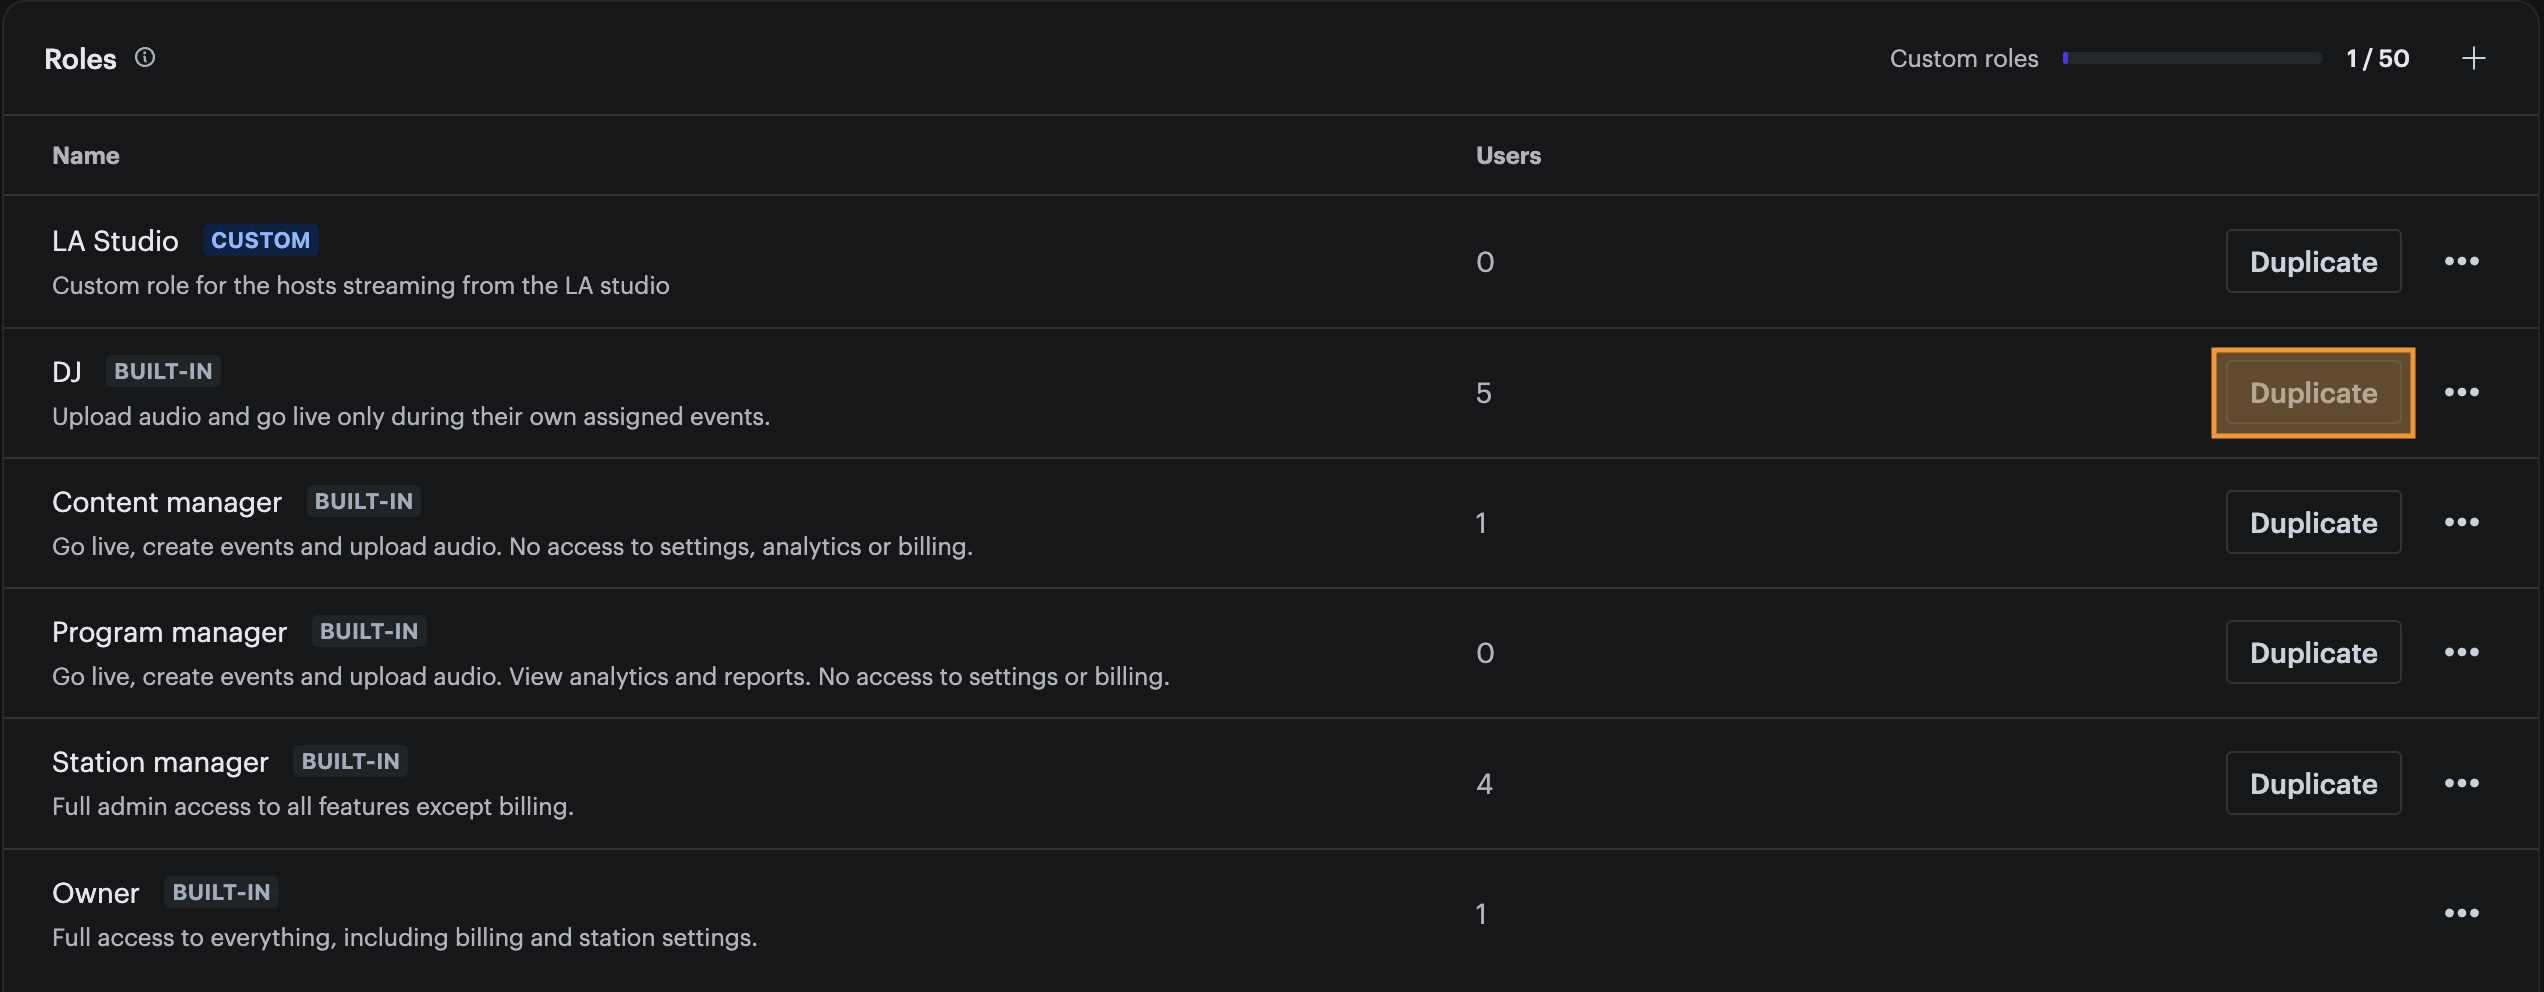
To create a role that's similar to an existing one, click the Duplicate button next to any role. This gives you an editable copy with the same permissions, so you only need to change what's different.