
Setting up your station's stream
In this article we'll cover all the options available for configuring your stream so it best suits how you run your station. Let's dive in!
Navigating to stream settings
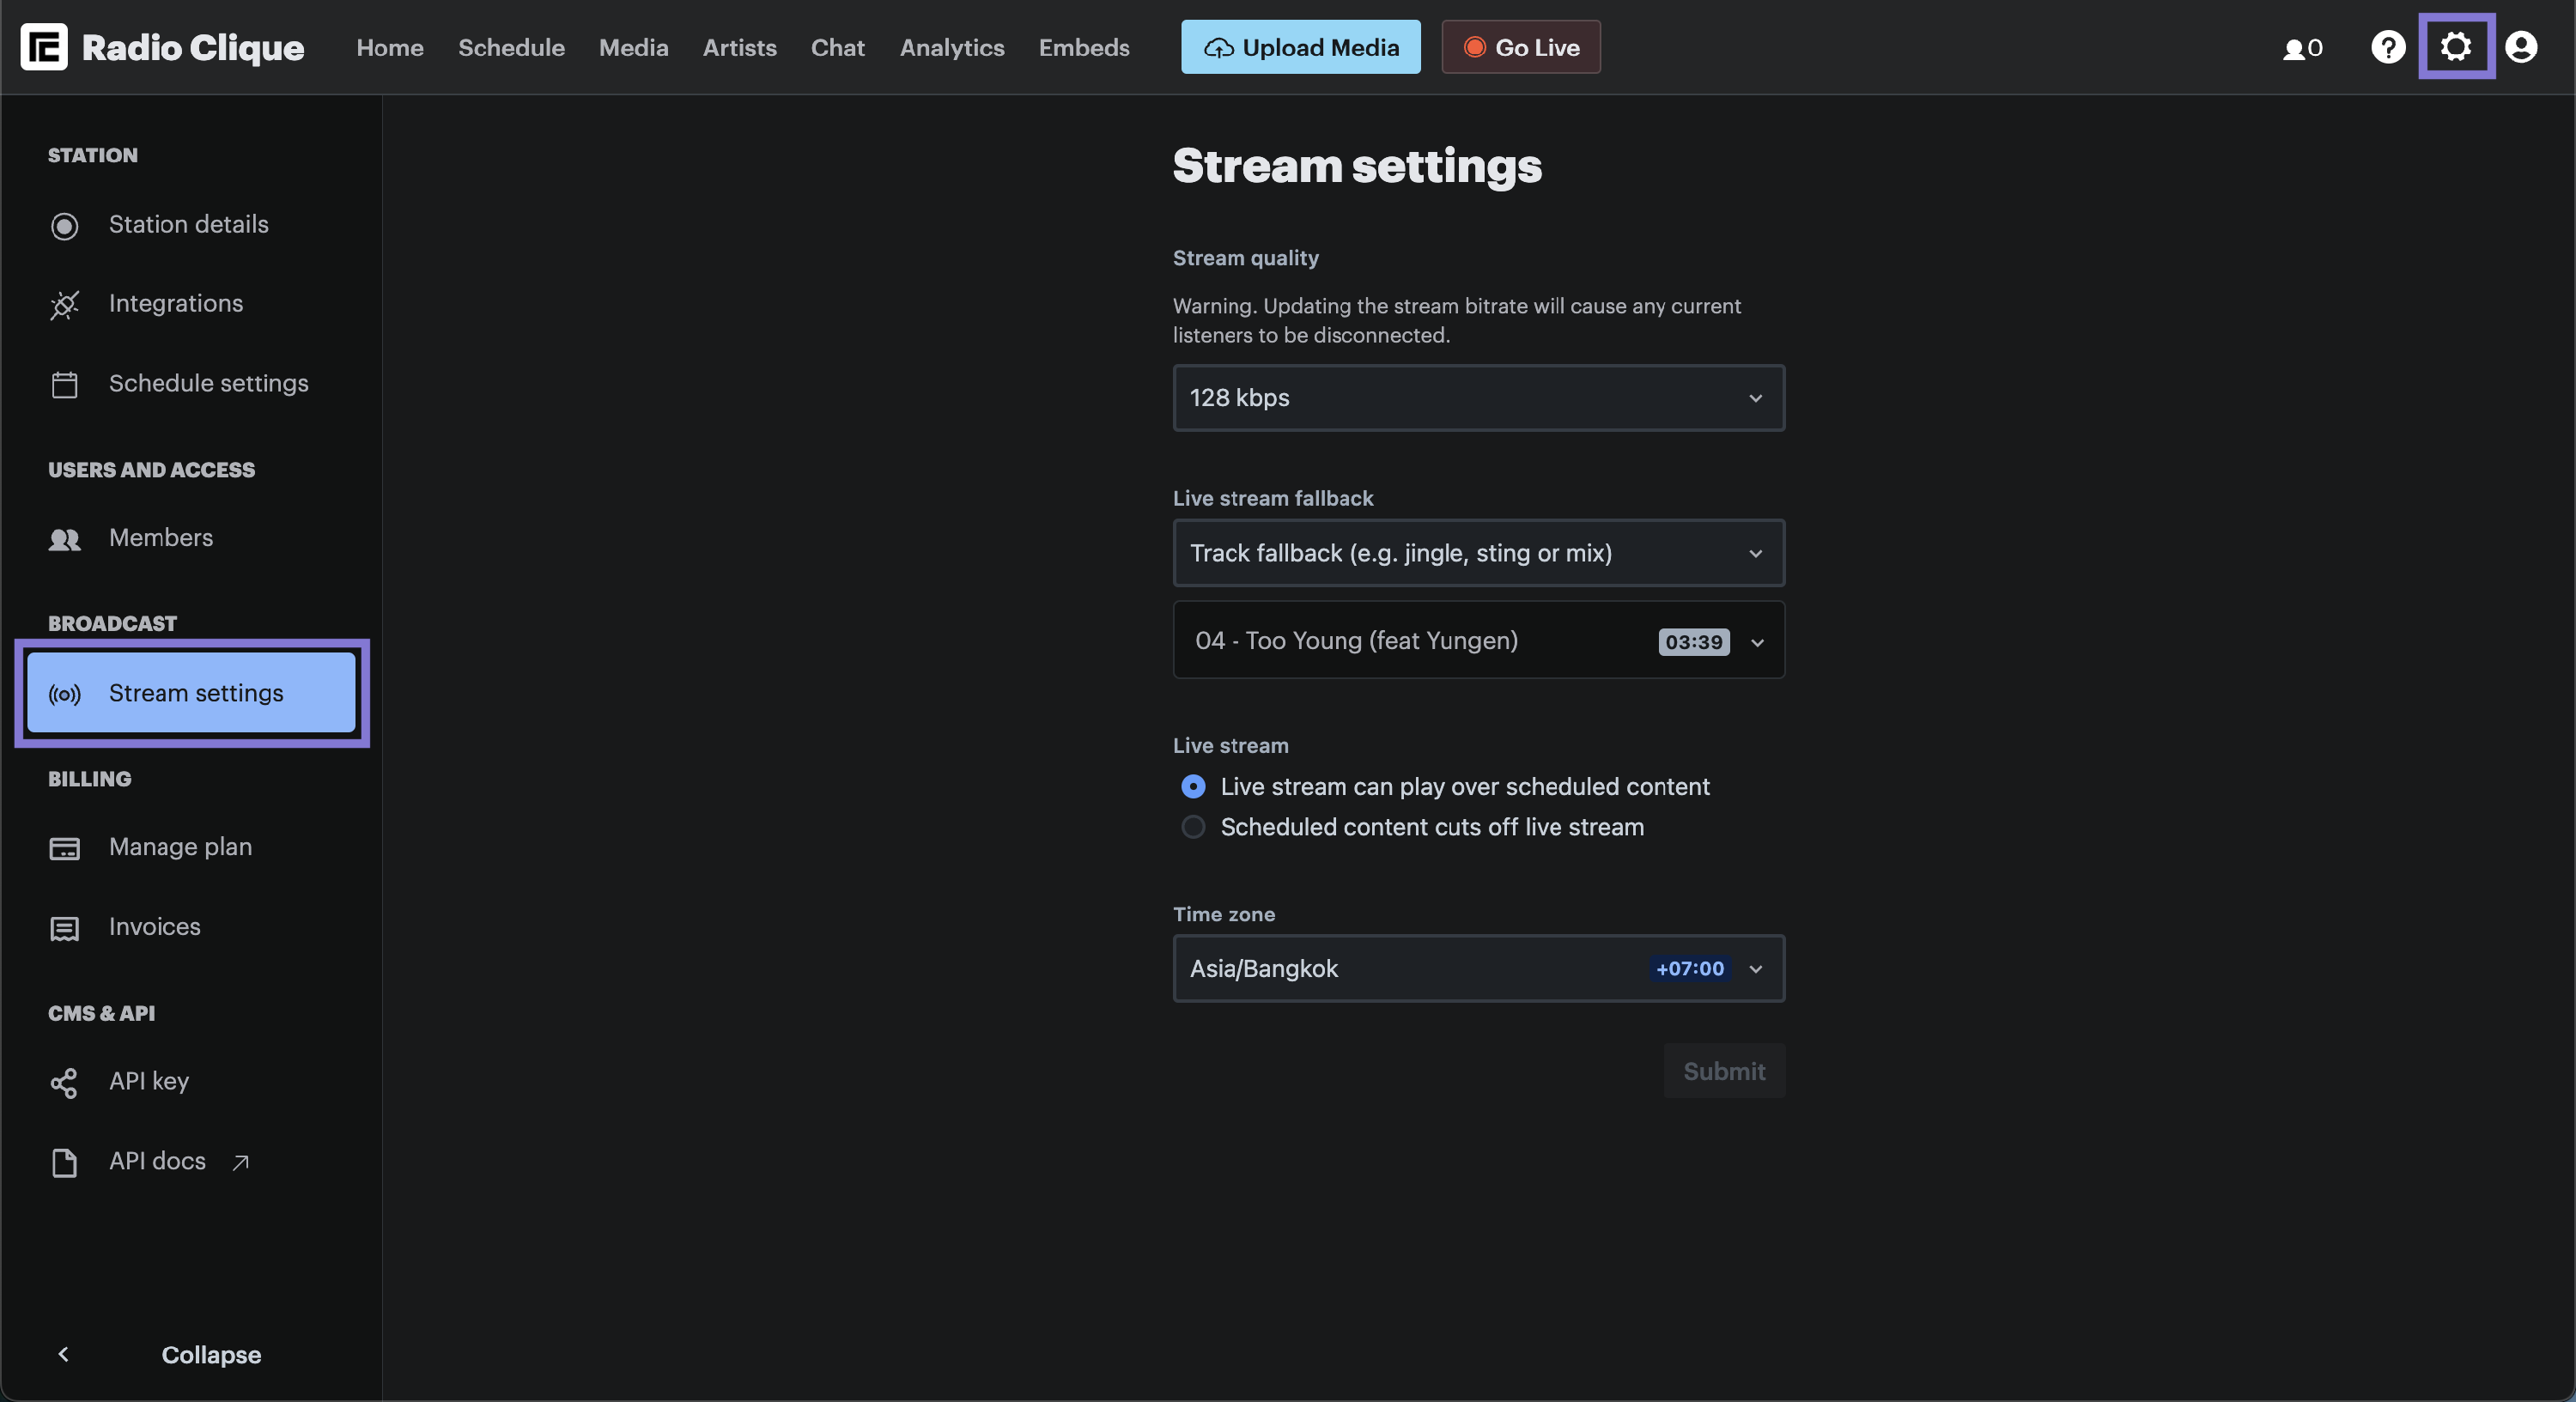
To get to the stream settings page:
- Click the Settings (cog) icon in the top right corner of the navigation bar, then
- Click Stream settings under the Broadcast menu in the left hand sidebar.
Selecting your station's stream quality
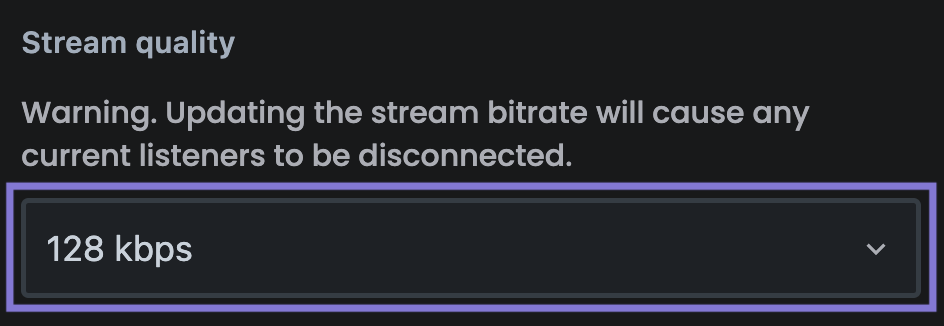
The first setting to consider is the audio quality of your station's stream, which is determined by its bitrate.
The available options are:
- 96 kbps (kilobits per second)
- 128 kbps
- 160 kbps
- 192 kbps
- 256 kbps
- 320 kbps
Higher bitrates mean better audio quality, but they use your monthly bandwidth allowance faster and need a faster internet connection on your listeners' end.
So take into account how and where your fans listen. If most of your listeners tune in on phones with patchy mobile data, streaming at 320 kbps probably isn't the right choice for your station.
Please note: updating the stream bitrate will disconnect any current listeners.
Choosing your station's live stream fallback
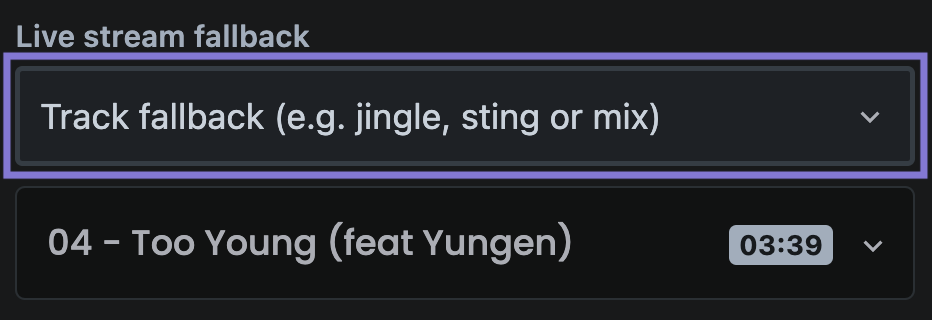
This setting controls what plays when a live event is scheduled but the DJ or presenter hasn't connected yet. Your streaming server plays the selected fallback until they connect.
The available options are:
Your default playlist
Plays the playlist you've set as your default.
Silence (no audio)
Plays silence, so your listeners will hear nothing on your stream.
Single track (e.g. jingle, sting, or mix)
Plays a single track from your library, selected using the media picker.
Custom playlist
Plays a specific playlist, selected using the playlist picker.
Tagged content
Plays content from a tag, selected using the tag picker.
Setting your station's live stream behaviour
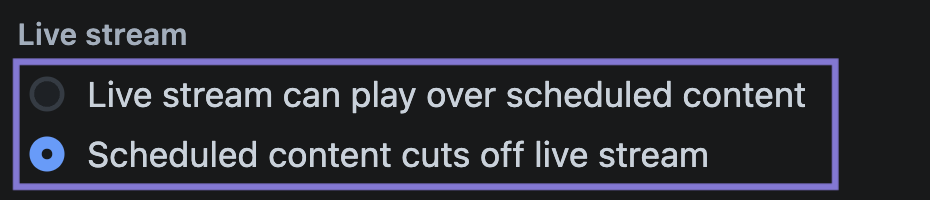
This setting decides what happens when your main account's live stream overlaps with scheduled content.
The available options are:
Live stream can play over scheduled content
This is the default. The main account can connect and stream live at any time, no matter what's scheduled, and the live stream keeps going even if it runs over the next scheduled event (e.g. a playlist or a mix).
Choose this if you want flexibility: fill your schedule with pre-recorded mixes and playlists, then go live at the click of a button.
Scheduled content cuts off live stream
The opposite: scheduled events take priority. When a live stream runs into the next scheduled event, the live audio stops broadcasting and the scheduled media takes over.
Choose this if you want a tight schedule, where every show starts and ends exactly when you want.
Setting your station's track separation rules

Separation rules stop the same artist or album repeating too soon when the auto DJ picks tracks. Set how long must pass before another track from the same artist or album can play, and shuffled playlists and tagged content will pick around it.
To turn them on, enable the Separation rules toggle. You can then configure:
Artist separation (minutes)
The minimum gap between tracks from the same artist. The default is 60 minutes.
Album separation (minutes)
The minimum gap between tracks from the same album. The default is 180 minutes.
Both rules accept values up to 1440 minutes (24 hours). Set a rule to 0 to turn it off.
Exempt tags
Content in your exempt tags is never blocked by separation and never counts towards it. Use this for content that should always be allowed through, like jingles, station IDs and sweepers.
Separation rules apply everywhere shuffle does, including shuffled scheduled playlists, your default playlist, and fallback content. Playlists played in order and live streams aren't affected.
Please note: separation rules only start keeping track of plays once they're enabled, so tracks played before aren't counted. You might hear a few artist or album repeats shortly after turning them on.
Choosing your station's timezone

The final setting to configure is your station's timezone. This locks all events you create to the selected timezone, so the platform respects that timezone's daylight saving time.